
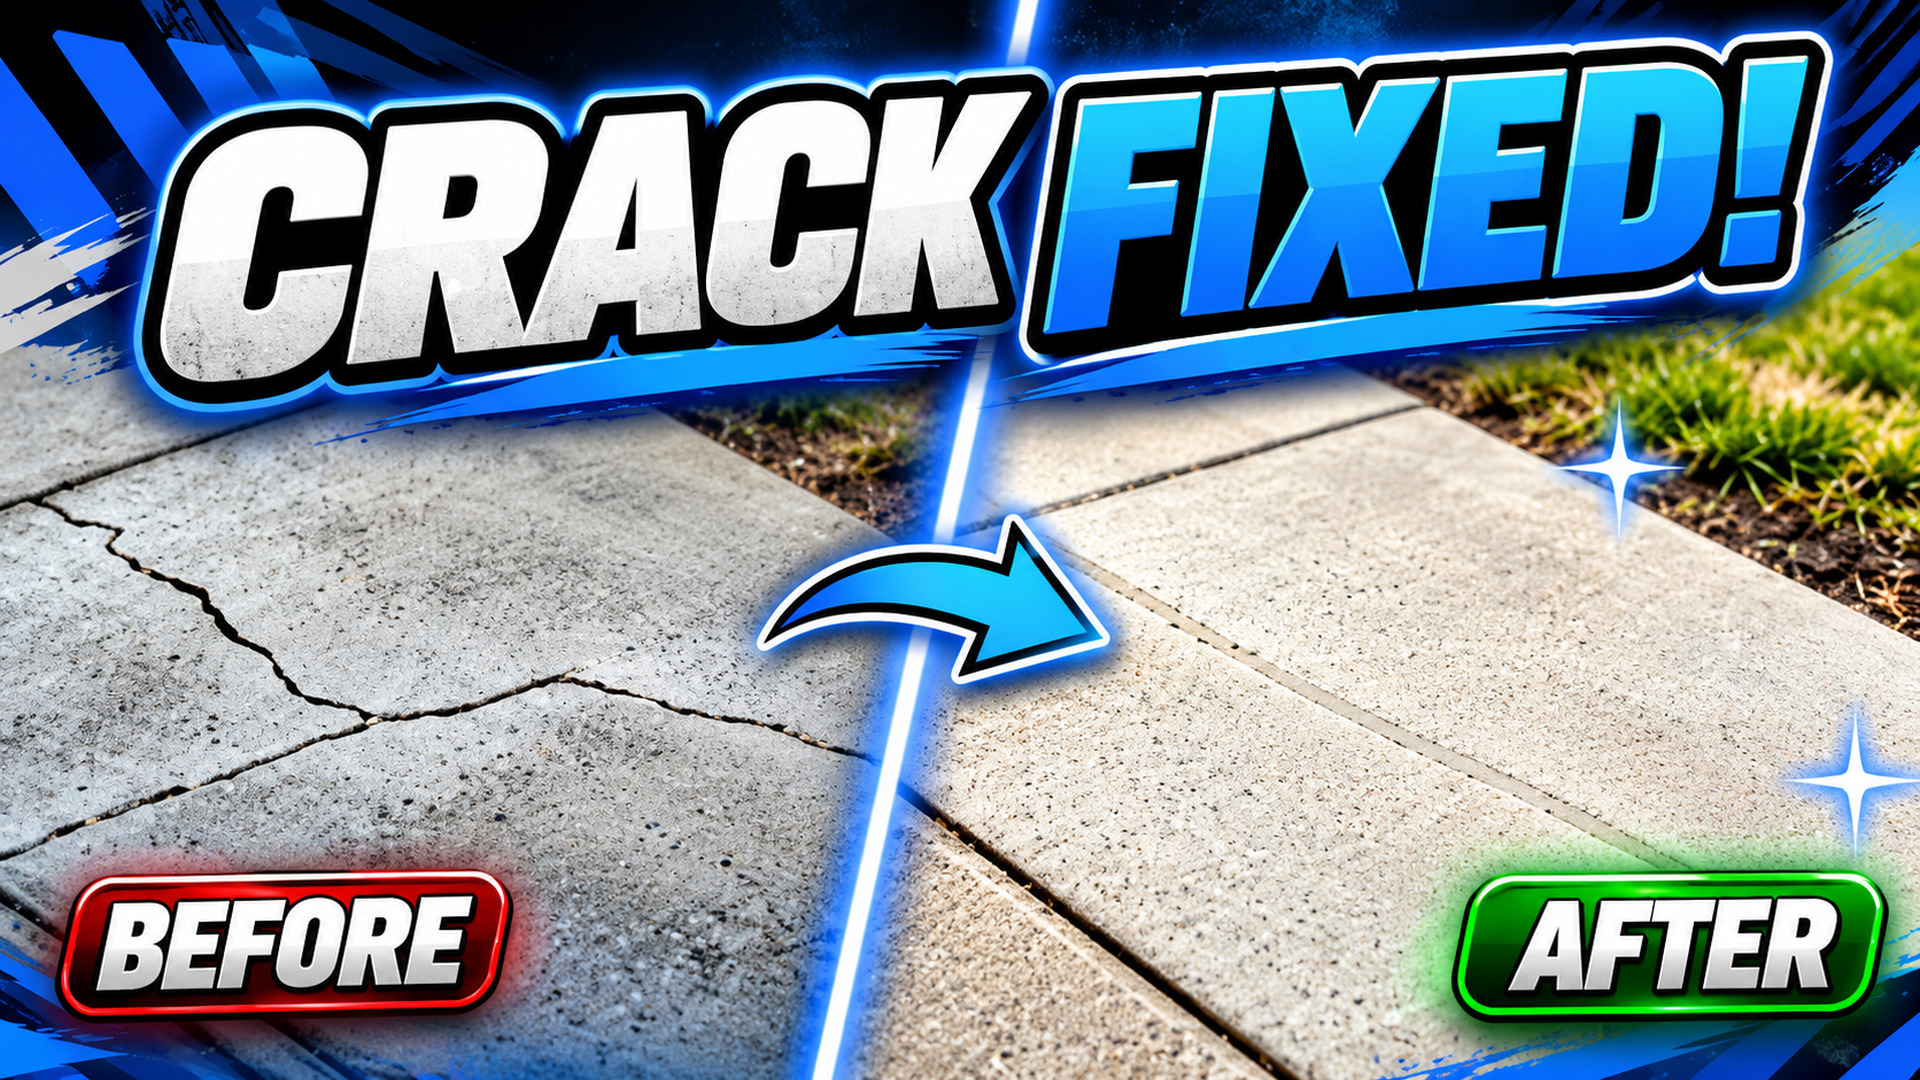
Cracks in concrete aren't exactly the best thing to look at, especially when they're right in your patio, driveway, or walkway. Instead of leaving them alone, I decided to try repairing them myself.
For this DIY project, I used QUIKRETE Concrete Crack Sealant and play sand to fill the cracks and improve their appearance.
I'm still a beginner when it comes to home improvement projects, so this was another opportunity to learn something new. Here's how the project went, what tools I used, and whether I would use QUIKRETE again.
Tools and Materials I Used
Here are the tools and materials I used for this project:
- QUIKRETE Concrete Crack Sealant – To fill and seal the cracks.
- SAKRETE Play Sand – To give the repaired areas a more natural-looking texture.
- RYOBI Angle Grinder – Used for preparing certain sections of the cracks.
- Avanti Pro Turbo Diamond Blade – Used with my angle grinder.
- Anvil 3-Inch Putty Knife – To spread and smooth the sealant.
- Cleaning Brush – To remove loose dirt and debris.
- Broom – To clean up the surrounding concrete.
You may not need all these tools, depending on your concrete's condition. Always follow the product instructions and use appropriate safety precautions.
Step 1: Cleaning Out the Concrete Cracks
First, I cleaned out the existing cracks.
There were small pebbles, dirt, and loose concrete pieces inside, so I used a brush to remove as much debris as possible.
For some sections, I also used my angle grinder with a turbo diamond blade to slightly open up the cracks. This gave the sealant a little more space to settle into.
After that, I brushed everything out again and swept the area clean.
One thing I definitely recommend having nearby is a broom. Concrete repair projects can get pretty messy, and keeping the work area clean makes things easier.
Step 2: Applying QUIKRETE Concrete Crack Sealant
Once everything was cleaned out, I started applying the QUIKRETE sealant.
I've previously used Sika Self-Leveling Sealant for another concrete repair project, and I really liked how it turned out.
This time, I wanted to try QUIKRETE and see how the results compared.
I carefully applied the sealant along the cracks, making sure the material filled the openings instead of just covering the top.
From what I noticed, the areas I had opened up a little earlier seemed to allow the sealant to settle farther inside.
Step 3: Smoothing the Concrete Crack Sealant
After applying the sealant, I used a putty knife to spread it across the repaired areas.
I believe I used an inexpensive Anvil putty knife from Home Depot. I've had it for a while, and it's been pretty useful for different projects.
I wasn't too worried about making the repair look absolutely perfect.
My priority was to fill the cracks and get a reasonably clean finish.
At this point, I also noticed it was starting to get dark outside, so I tried to finish everything before losing the remaining daylight.
That's something I'm learning about DIY projects. Sometimes they take longer than you expect!
Step 4: Adding Play Sand for a More Natural Finish
For the final touch, I decided to experiment with adding play sand.
I picked up the sand from Home Depot, and I actually like its texture more than the multi-purpose sand I've used before.
The play sand feels finer, and I thought it might help the repaired area blend in with the surrounding concrete.
While the sealant was still setting, I sprinkled some play sand over the repaired cracks and spread it across the surface.
I liked how it changed the appearance of the repair.
Keep in mind that adding sand was my own experiment for appearance.
Step 5: The Final Results
Once everything was finished, I looked at the repaired concrete.
Overall, I'm pretty happy with how it turned out!
The cracks were filled, and the play sand helped give the repaired areas the textured appearance I was hoping for.
It's definitely not an invisible repair, but I think it looks much better than before.
As with any repair like this, I'll have to see how well the material holds up over time.
Final Thoughts on My DIY Concrete Crack Repair
For a beginner DIY project, I'm pretty satisfied with the results.
If you're dealing with small, non-structural concrete cracks, a suitable crack sealant may be worth looking into.
Hopefully, sharing my experience helps other beginners understand what this type of repair looks like and what to consider before getting started.