
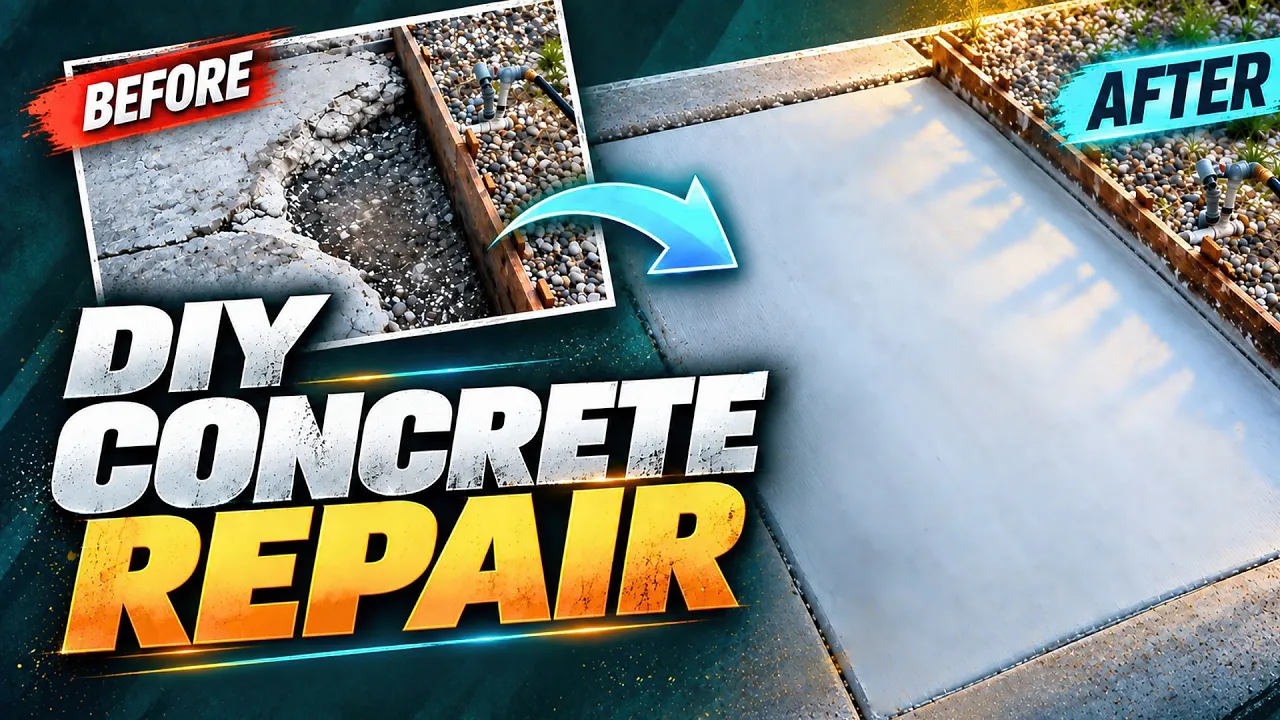
DIY Concrete Repair With Rapid Set Cement All
I’ve been working on improving an uneven area in my backyard that had several low spots in the concrete. The surface was still usable, but parts of it were awkward to walk on and water tended to collect in certain areas.
For this project, I decided to try Rapid Set Cement All to fill the low spots and create a more solid, walkable surface.
The Goal of the Project
My goal was pretty simple. I wasn’t trying to make the concrete look brand new or create a perfect professional finish.
I mainly wanted to fill the low areas, make the surface easier to walk on, and improve the overall usability of the space.
Since I was working with older existing concrete, function mattered more to me than perfection.
Starting the Concrete Repair
I had already filled in part of the area during my first attempt, but I quickly realized that one bag of Cement All did not cover as much space as I expected.
When you are filling a larger or deeper area, the material can disappear pretty quickly.
I ended up running out during the first round and had to pick up another bag before continuing.
Preparing the Area
Before adding the next batch, I wet down the existing concrete.
From there, I mixed the Cement All and gradually added material into the low sections.
One of the biggest challenges was getting everything reasonably flat before the material started setting.
One thing to keep in mind with Cement All is that it sets fast.
Once it is mixed, you need to keep moving. Depending on the temperature and working conditions, it can feel like you have even less time to shape and finish the surface.
Making the Project More Comfortable
You may notice in the video that I’m sitting on a small wooden platform while working.
That actually made the project much easier for me.
Squatting or kneeling for long periods can get uncomfortable pretty quickly, so having a small platform gave me a better position while spreading and finishing the material.
Sometimes the simplest DIY solutions make a big difference.
Smoothing the Cement
After spreading the Cement All, I went over parts of the surface with a sponge.
I liked doing this because it helped smooth some of the rough areas and made the surface look a little more even.
Again, I wasn’t aiming for a flawless finish. I mainly wanted everything to feel solid and comfortable to walk on.
Adding More Material to the Low Areas
By the third day, the repair was starting to look much better.
I noticed one corner still needed to be raised slightly, so I added more Cement All to build that section up.
That corner was probably the most difficult part of the project because water kept collecting there.
The surface stayed wetter than the surrounding area, so I had to work around the moisture while gradually adding enough material to improve the low spot.
The Final Result
By the next day, everything had hardened and the area was much more usable.
The surface is not perfectly smooth, and it does not look like freshly poured concrete, but that was never really the goal.
The low spots were filled, the area felt more solid, and it was much easier to walk across.
For a simple DIY backyard repair, I’m happy with how it turned out.
My Thoughts on Rapid Set Cement All
Overall, I liked working with Rapid Set Cement All.
The fast setting time can be a big advantage when you want to complete a repair quickly, but it also means you need to work efficiently once the material is mixed.
For a larger area, I would also pay close attention to how much material you need because one bag may not go as far as you expect.
For smaller repairs and patching projects, though, it can be a very useful product to work with.
Watch the Full DIY Concrete Repair
If you want to see the full process, including spreading, smoothing, and the final results, watch the video above.
This project was not about making the concrete perfect. It was about making an uneven area more practical, solid, and usable.
For that, I’d say it did exactly what I needed.